
Few things in architectural visualisation drain profit faster than a camera change requested on a fully finished image. After days of refining materials, balancing atmospheric lighting, and placing entourage, an email arrives from an investor asking to move the perspective ten metres to the left. The scene must be adjusted, lighting recalculated, and high-resolution computing time scheduled all over again.
This problem rarely stems from ill intent. In most projects, clients and stakeholders simply do not know at which point a decision becomes final. Without a clear approval framework, people comment on whatever they see on their screen, whether that is an unfinished white model or a final composite. Managing rendering feedback requires a structured workflow that divides production into clear stages, defines who decides, and pins comments directly to the image.
An architectural visualisation is a digital model rendered from virtual camera positions into still images or animated sequences. Because calculating realistic light and materials requires substantial computing power and manual fine-tuning, every change made late in the pipeline costs significantly more time and money than the same change made early on.
Stages of an architectural visualisation
To keep revisions under control, visualisers and clients must agree on a linear sequence. An architectural visualisation typically moves through six distinct phases:
- Clay or white model: The 3D model is reviewed without textures, colours, or glass reflections. The focus lies purely on camera positions, focal lengths, architectural proportions, and compositional framing.
- Materials and lighting: Once the camera is locked, textures, daylight or night-time mood, and artificial lights are applied to the surfaces.
- Entourage: Secondary elements are added to give the building scale and life. This includes furniture, vegetation, vehicles, and people.
- Final renderings: High-resolution rendering takes place, followed by 2D post-production, colour grading, and detailed retouching.
- Animation or flythrough (optional): If the brief includes moving footage, the virtual camera travels through or around the building along a predefined path.
- Use in marketing: The approved assets are handed over for production in sales brochures, site hoardings, property websites, and social media campaigns.
Dividing production into these checkpoints protects both the 3D artist and the client. Each stage answers a specific question, and moving to the next stage means the previous question is closed.
Try it yourself: In the demo you work in a real draftgo workspace with sample data.
Which feedback belongs in which stage
The central rule of rendering feedback is straightforward: comment only on elements that belong to the current phase. When reviewers critique missing trees on a clay model or question the camera height on a final composite, the workflow breaks down.
| Visualisation stage | What reviewers should evaluate | Feedback that must not be raised here |
|---|---|---|
| Clay model | Perspective, eye level, camera framing, match with architectural plans | Material colours, glass reflections, landscaping, interior styling |
| Materials and lighting | Surface textures, material choices, daylight direction, overall mood | Shifting the camera, changing window layouts, moving walls |
| Entourage | Choice and density of people, style of furniture, vehicle types, target demographic | Basic lighting concept, new perspectives |
| Final renderings | Edge retouching, contrast balance, minor post-production details | Rebuilding 3D assets, replacing core materials |
| Animation / flythrough | Camera path, movement pace, cut timing, narrative sequence | Final render resolution, complex motion blur adjustments |
During the clay render stage, a neutral grey or white material covers every surface. This allows architects and clients to judge form, perspective, and framing without being distracted by wood grain or wall colours. Once this perspective is signed off, the camera angle is locked.
In the materials and lighting phase, the team evaluates surface properties and the time of day. Does the facade material match the architectural specification? Does the afternoon sun highlight the entrance correctly?
The entourage phase introduces people, vegetation, and furniture. Here, marketing teams and sales agents provide vital input regarding the target group. A luxury residential development requires different styling, vehicle models, and demographic cues than an inner-city student housing scheme.
Final renderings and post-production are reserved for fine-tuning. Re-rendering at full resolution is no longer an option at this point; adjustments are restricted to 2D retouching in image editing software. If an animation is planned, the camera path and cutting speed must be confirmed in a low-resolution preview before the flythrough is sent to the render farm.
Teams managing multi-disciplinary digital projects often face similar challenges when coordinating visual reviews across layouts and web collateral. Structuring feedback early is just as vital when working with a website feedback tool or reviewing brand assets.
Process and roles: many stakeholders, one decision-maker
Property developments involve numerous parties: the architect, the developer, project managers, marketing agencies, sales agents, and financial investors. Each group views the rendering through a different lens. The architect checks design accuracy against construction drawings. The sales agent looks for selling points such as spacious balconies. The investor considers brand prestige and market appeal.
Problems arise when all of these stakeholders send conflicting wishes directly to the 3D visualiser. If the architect requests a dramatic wide-angle shot showing the structural roofline while the marketing team asks for a tight crop focusing on the garden terrace, the artist cannot satisfy both.
A functional review process requires clear role separation:
- Reviewers (architect, sales, investor, agency): They review the draft, place comments, point out discrepancies, and explain their operational needs.
- The decision-maker (project lead or client lead): Exactly one person collects the feedback, resolves internal contradictions, and formally approves each milestone.
The 3D artist should never be forced to arbitrate between differing client opinions. Conflicting wishes must be settled internally by the lead decision-maker before the next rendering loop begins.
Typical mistakes in rendering feedback
Unstructured feedback loops lead to predictable friction points that inflate production costs:
- Changing perspective at the final stage: A stakeholder looks at the final, fully lit rendering and asks to raise the camera by two metres. Because global illumination, reflections, and entourage placement depend directly on the camera viewpoint, moving the camera requires rebuilding the composition and re-rendering from scratch.
- Feedback by email without visual context: Written instructions such as "make the window frames darker" or "remove the person on the left" cause confusion when an image contains dozens of windows and multiple people. Without a visual marker, artists spend unnecessary hours guessing what was meant.
- Conflicting wishes without an arbiter: Multiple stakeholders reply in divergent email threads. The artist implements one change, only to be reprimanded by another stakeholder in the subsequent revision.
- Unclear version tracking: Files circulate with names like
View_01_final_v2_edit.jpg. Reviewers comment on outdated exports, and nobody can verify which iteration received client sign-off.
Approval points that save money
To protect production budgets, 3D studios and agency partners should introduce four binding approval milestones into their contracts and project schedules:
1. Perspective and framing approval on the clay model
Before any realistic shader is assigned or high-end lighting is computed, the client must sign off on the camera angle and framing. This confirms that the perspective highlights the intended architectural features and aligns with approved planning documents. Once approved, the camera coordinates in the 3D software remain fixed.
2. Materials and lighting approval on a single reference view
Instead of applying lighting adjustments across ten different camera views simultaneously, the team agrees on materials and sun positions on one primary hero shot. Once this master aesthetic is signed off, the parameters are transferred to the remaining viewpoints, preventing redundant revision rounds across the entire image package.
3. Entourage approval prior to final rendering
Placing 3D vegetation and population models increases scene data and slows down viewport navigation. Reviewing furniture layout and entourage density on low-resolution previews ensures the scene captures the desired atmosphere and demographic before hours of high-resolution processing begin.
4. Camera path sign-off before full-quality animation output
Rendering a two-minute architectural flythrough frame by frame requires immense computational time. The camera path, speed, focal length, and cut sequences must be reviewed and approved using simple viewport playblasts. Full-resolution frames should only be rendered once the camera trajectory is frozen.
Practical scenario: how a project avoids re-renders
Consider a practical example from property marketing. A creative studio is commissioned to produce four marketing visuals for a new mixed-use development. Rather than emailing attachments back and forth, the studio establishes an agreed review structure from day one.
In the first stage, the visualiser uploads clay models of six potential camera angles to an online review space. The client team, comprising the lead architect and the development director, opens the link directly in their browser without registering an account. The architect places a rectangle marker around an entrance canopy, noting that the column spacing does not reflect the latest structural revision. The development director places a pin on the foreground plaza and suggests tilting the camera upwards to capture the penthouse terraces.
Because the models are untextured white renders, the visualiser adjusts the camera coordinates and column geometry in less than an hour. The client lead confirms the four final views.
When the project reaches the materials and lighting phase, the sales team joins the review. Seeing a warm late-afternoon sun, one agent asks whether a morning view would better highlight the retail shopfronts. Because the project lead acts as the single decision-maker, she reviews the note and decides to maintain the evening atmosphere for consistency across the campaign brochure. The visualiser receives one consolidated, contradiction-free set of notes.
When the final high-resolution renderings are delivered, no camera angles need shifting and no foundational materials need re-working. The project finishes on schedule, without emergency overnight rendering sessions or disputed invoice items.
How it works in draftgo
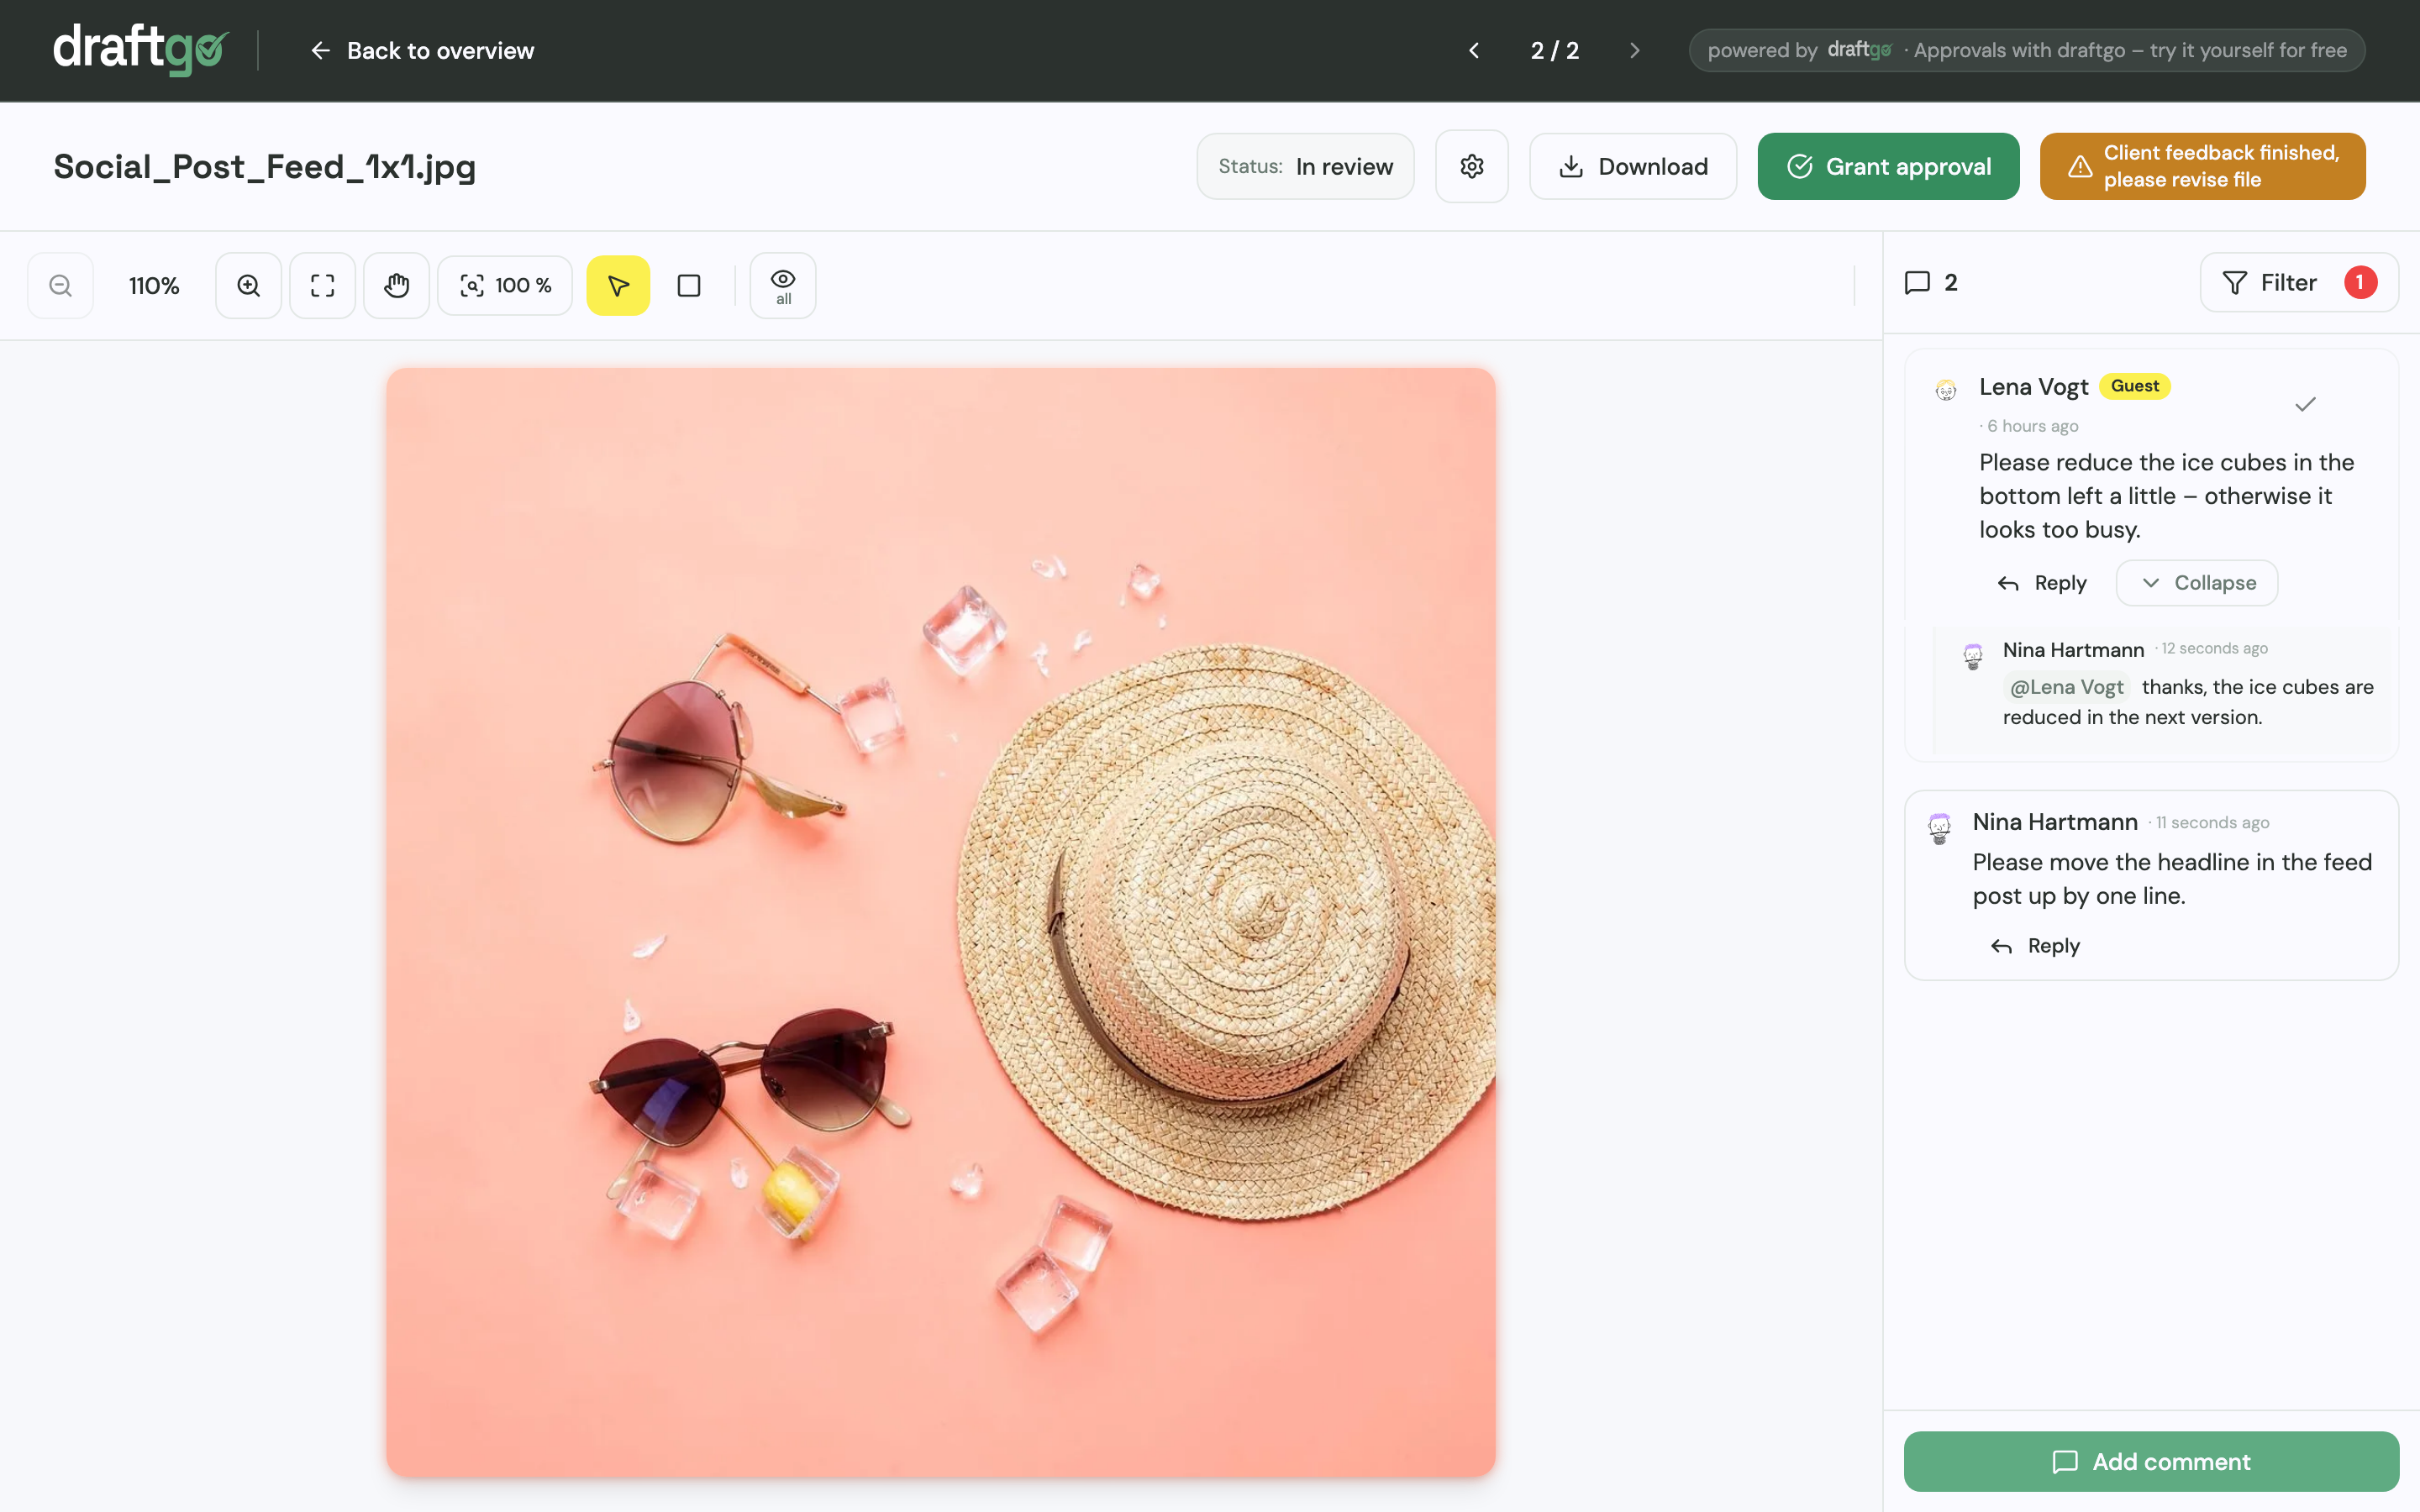
draftgo provides an intuitive visual approval workspace that keeps rendering feedback clear, consolidated, and documented. Instead of deciphering vague email descriptions, your team and external clients communicate directly on the image asset.
- Upload each view as its own file: Every camera perspective is uploaded as a separate item within the project. When adjustments are made, new drafts are uploaded as versions of the existing file. Previous iterations remain accessible, ensuring complete traceability.
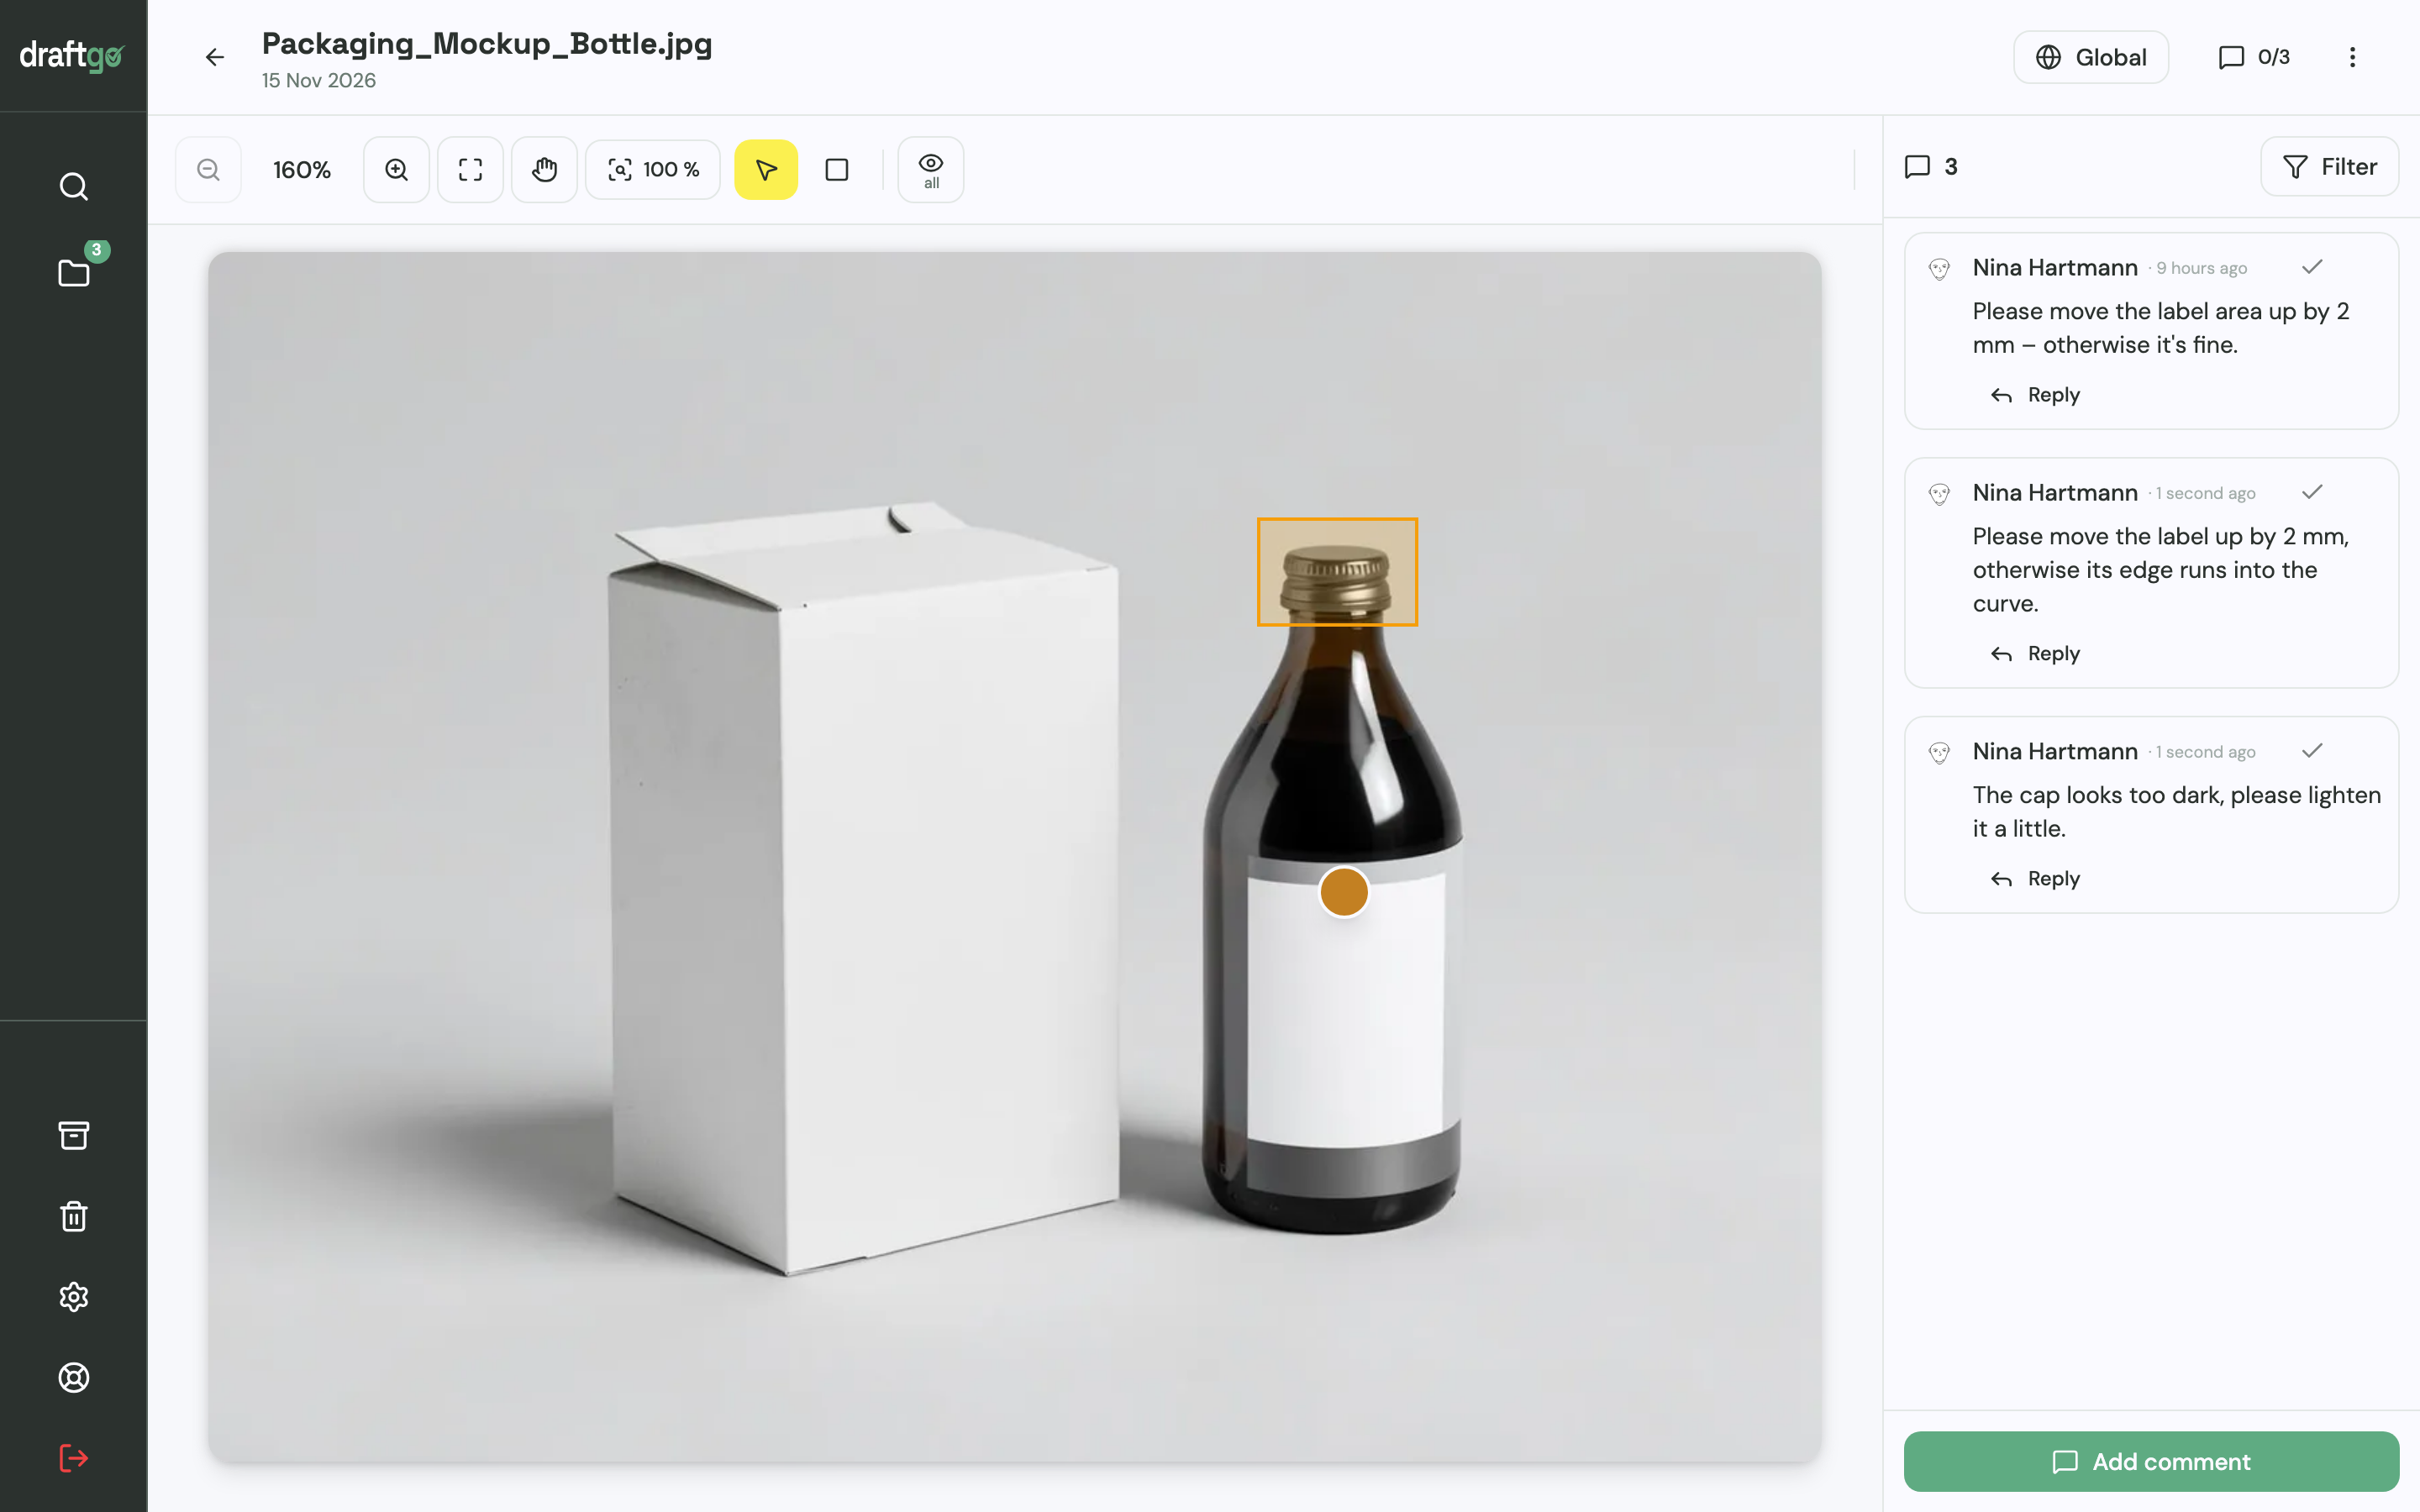
- Mark feedback with pins and rectangles: Reviewers place a precise pin or draw a rectangle around specific areas on the rendering. A comment thread opens immediately beside the mark, allowing artists, architects, and marketing managers to discuss details without ambiguity. For flythrough animations or video walkthroughs, comments attach directly to the exact second on the playback timeline.
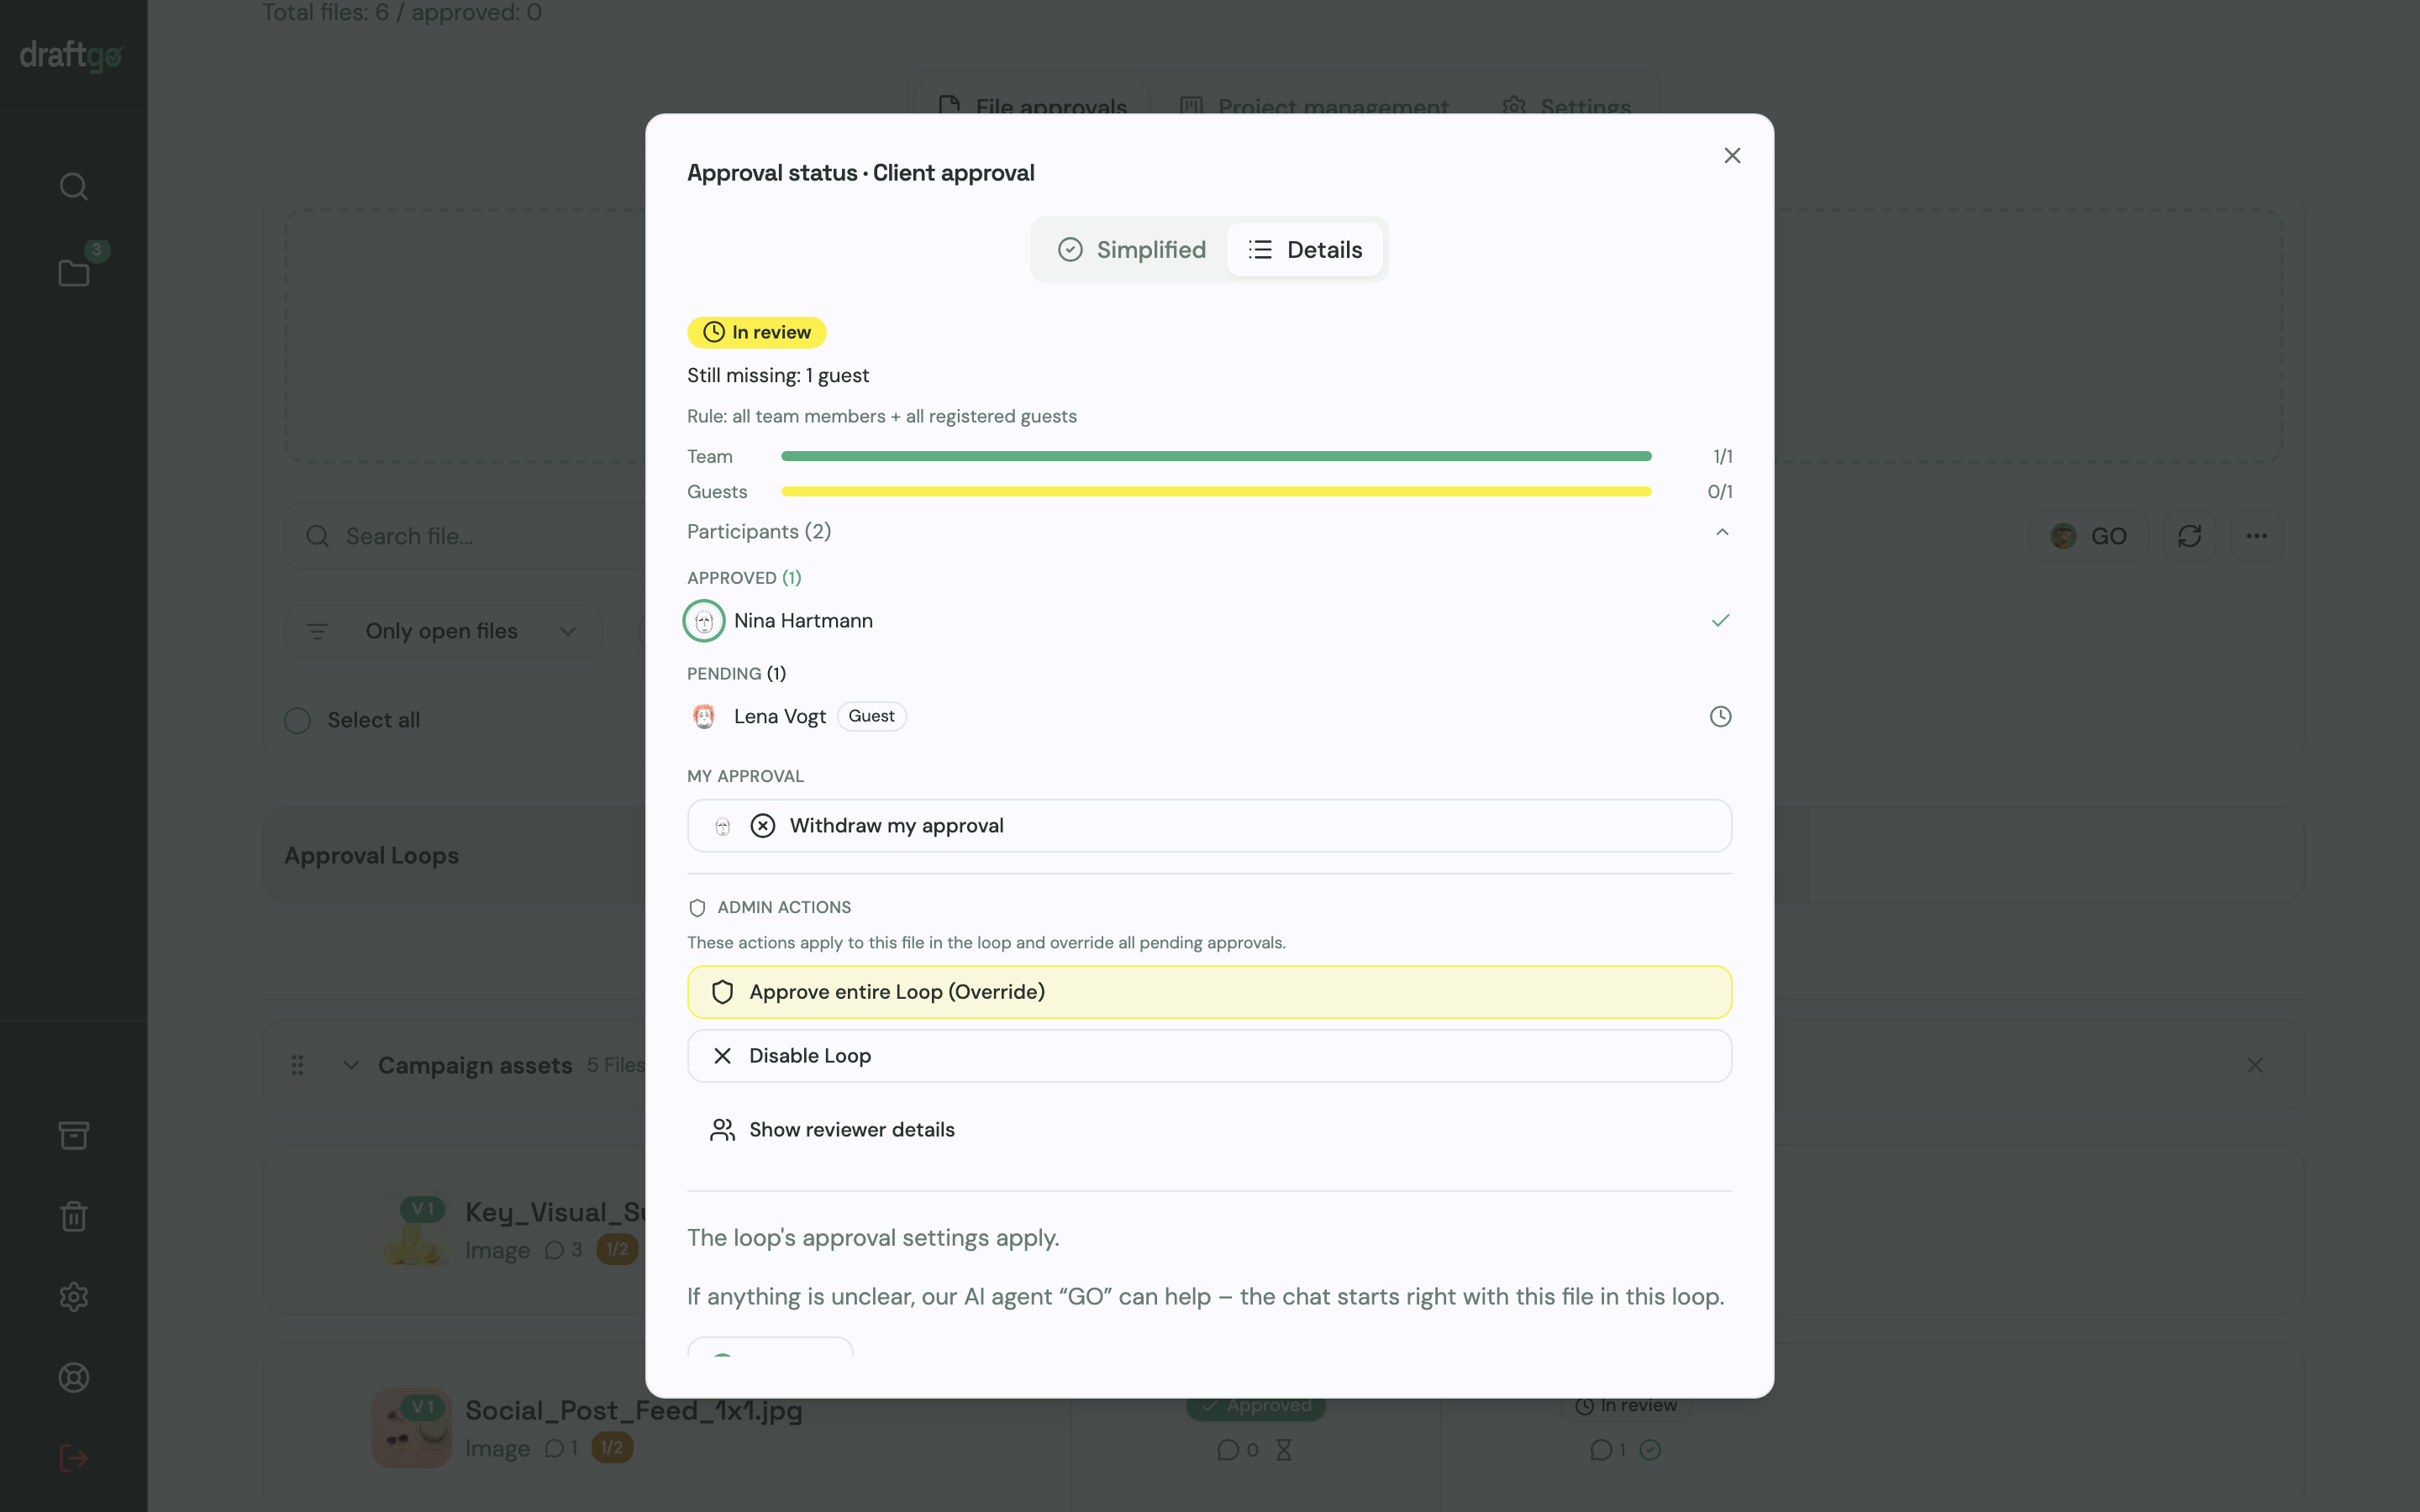
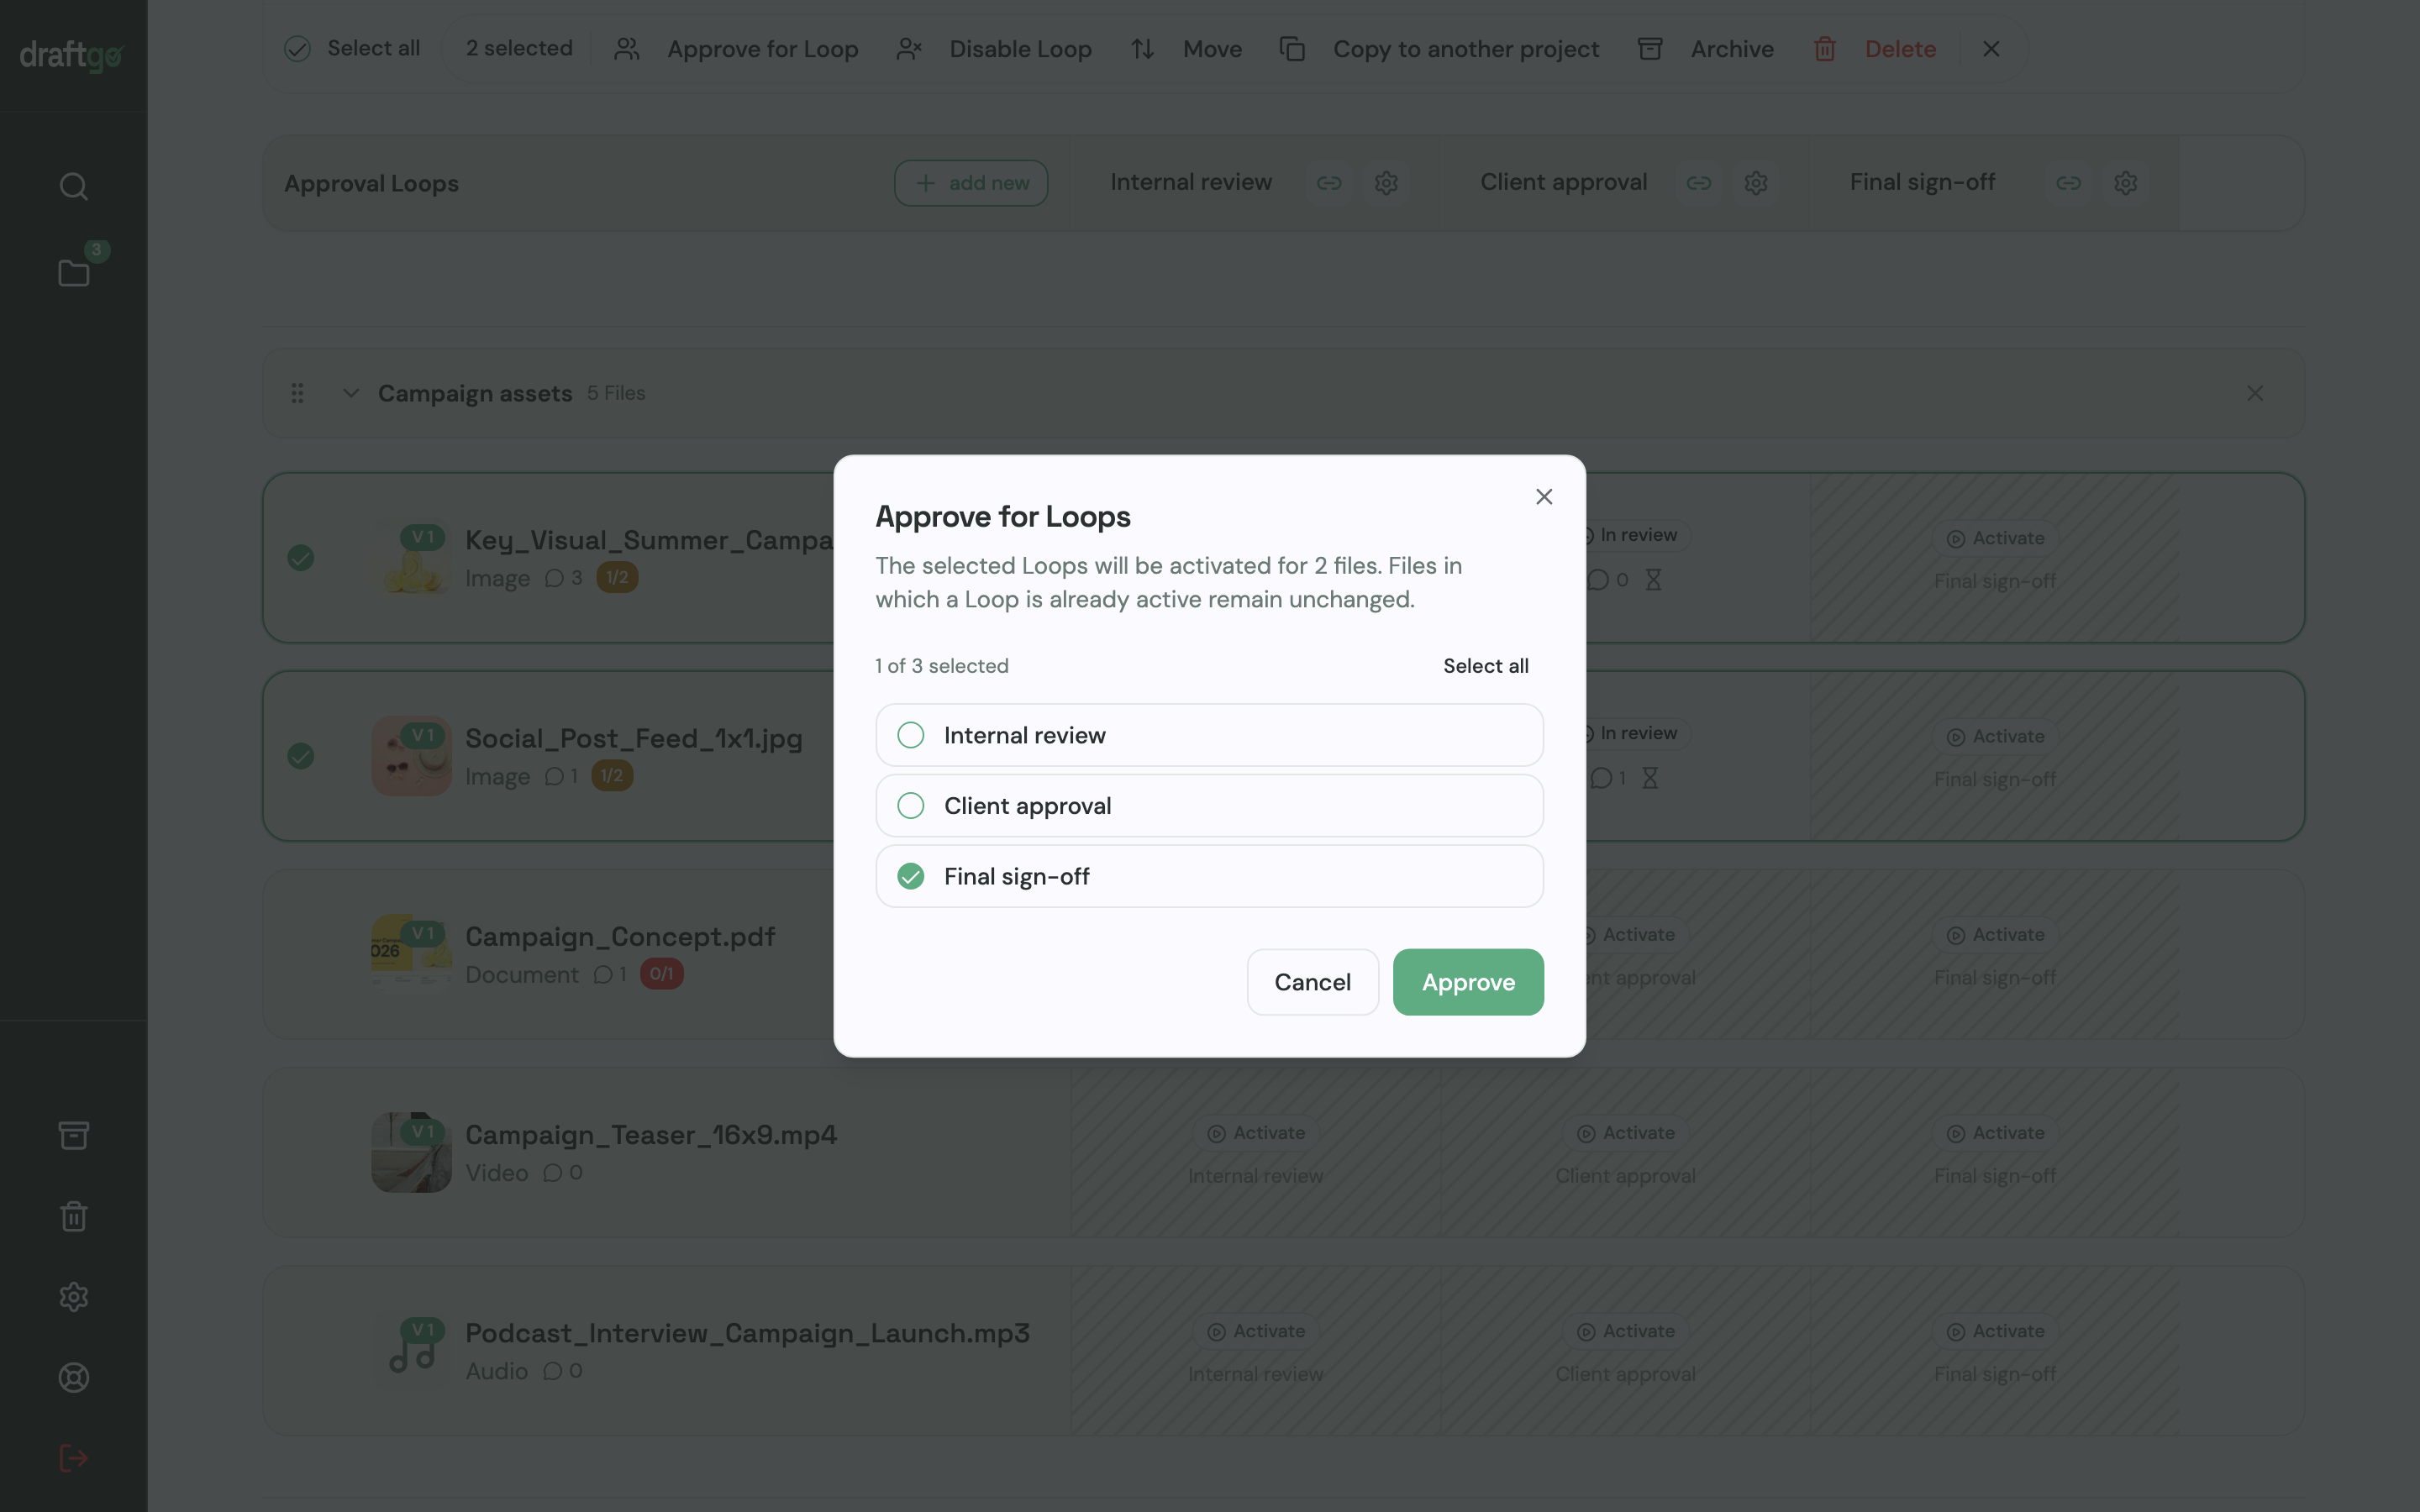
- Organise review loops in stages: Create separate approval loops for each phase of the project. For example, run an internal review loop with your visualisation team first, followed by a formal client review loop for the clay render sign-off.
- Invite external clients without accounts: Clients and stakeholders access the files via a secure browser link without creating an account or installing software. Approvers can sign off assets with a single click, while guest viewers can leave comments and review progress.
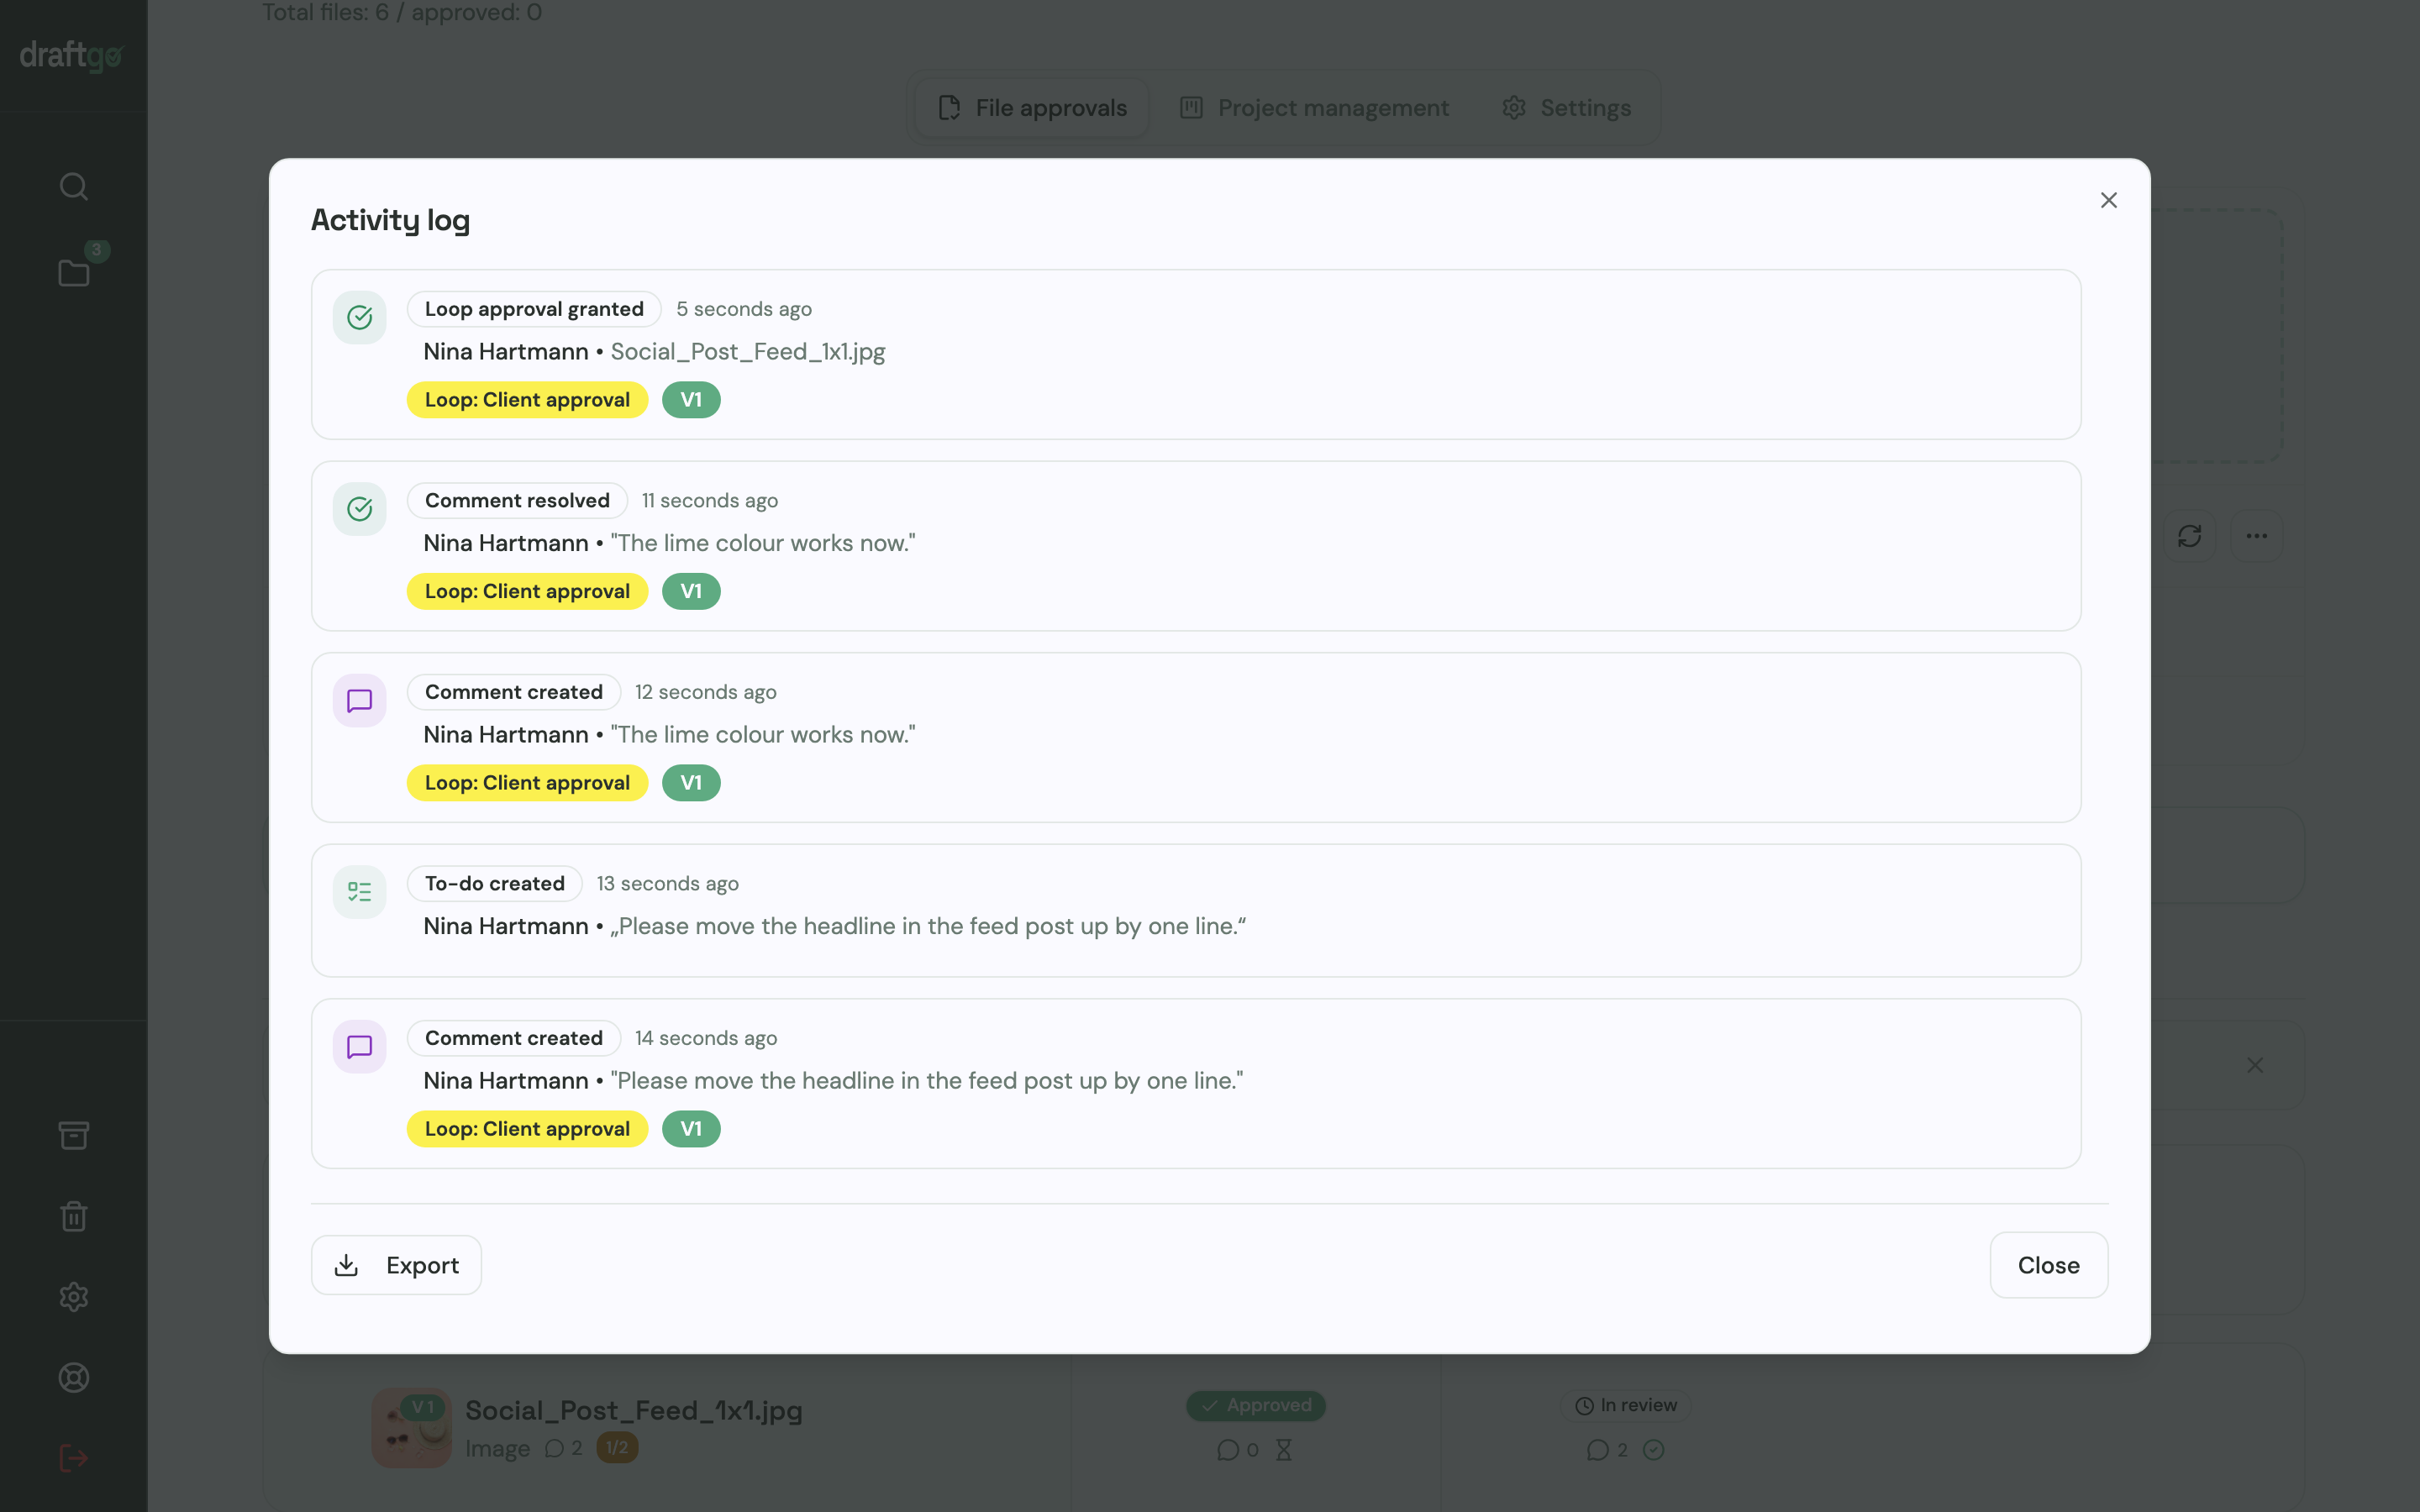
- Track every sign-off in the activity log: Every approval, comment, and version upload is recorded with a person’s name and a timestamp. When questions arise regarding who authorised a specific material or camera position, the activity log provides a clear record that can be exported as a PDF or CSV document.
The renderings themselves continue to be modelled, lit, and rendered inside your dedicated 3D software suite; draftgo acts as the presentation, feedback, and sign-off layer that keeps client communication organised. Creative teams handling broader collateral can also explore our solutions for web design and creative production to streamline asset sign-offs across projects.
FAQ
What is a clay render in architectural visualisation?
A clay render, also called a white model render, displays the 3D scene using a uniform matte grey or white material without textures, colours, or glass reflections. It allows architects and clients to evaluate geometry, spatial proportions, perspective, and camera framing without visual distraction.
Why should camera angles be approved on the white model?
Approving camera angles on an untextured model saves substantial time and cost. Calculating photorealistic materials, reflections, and global illumination requires significant computing effort; moving the camera after lighting and entourage are completed means recalculating the entire image.
What does entourage mean in architectural rendering?
Entourage refers to secondary elements added to an architectural model to give the scene scale, depth, and atmospheric context. This includes people, furniture, interior accessories, trees, plants, street furniture, and vehicles tailored to the intended target demographic.
Who should make the final decision when stakeholders disagree on feedback?
One appointed client lead or project director must serve as the final decision-maker. While architects, sales agents, and investors contribute valuable perspectives, conflicting requests must be resolved by the lead decision-maker before feedback is passed to the 3D artist.
How does draftgo handle revisions for multiple camera angles?
In draftgo, each camera angle is managed as an individual file. When revisions are ready, new drafts are uploaded as versions of the same file, keeping the full comment history attached to the corresponding version. Reviewers mark changes with pins or rectangles directly on the image.
Conclusion
A profitable architectural visualisation workflow relies on timely approvals rather than endless rounds of revisions. By separating camera placement, material definition, and entourage into strict review milestones, 3D studios eliminate the risk of unexpected, costly re-renders. Pinning feedback directly to the rendering ensures that every comment is visually clear and every milestone is reliably documented.
Try it free – draftgo is free for 14 days, no credit card needed.
Written by
Emilia
Content Producer
Ready to streamline your approval processes?
Get started with draftgo today and see how easy professional collaboration can be.